How to Install Compact Fluorescent Lamps (CFLs)
Compact Fluorescent Lamps, commonly known as CFLs, are an excellent choice for those looking to save on energy costs while maintaining bright and effective lighting in their homes or offices. Installing CFLs is relatively simple and can be done without the need for professional assistance. In this comprehensive guide, we will walk you through the steps to install CFLs, discuss the benefits, and provide tips to ensure you get the most out of your new lighting.
Understanding CFLs
Before diving into the installation process, it’s essential to understand what CFLs are and why they are beneficial. CFLs are energy-efficient light bulbs that use up to 75% less energy than traditional incandescent bulbs and can last up to ten times longer. This efficiency not only helps reduce your electricity bills but also minimizes your carbon footprint, making them an environmentally friendly option.
Benefits of Using CFLs
- Energy Efficiency: CFLs use significantly less energy than incandescent bulbs, which can lead to substantial savings on your energy bills.
- Longevity: These bulbs have a longer lifespan, meaning fewer replacements and less maintenance.
- Environmental Impact: Reduced energy consumption means lower greenhouse gas emissions, contributing to a healthier planet.
- Cost-Effectiveness: Although initially more expensive than incandescent bulbs, the long-term savings on energy and replacements make CFLs a smart investment.
Tools and Materials Needed
Before starting the installation, gather the following tools and materials:
- CFL Bulbs: Ensure you have the correct wattage and base type for your fixtures.
- Ladder: If the fixture is out of reach.
- Gloves: To protect your hands and prevent fingerprints on the bulbs.
- Cloth or Towel: To clean the fixture and bulb.
Step-by-Step Guide to Installing CFLs
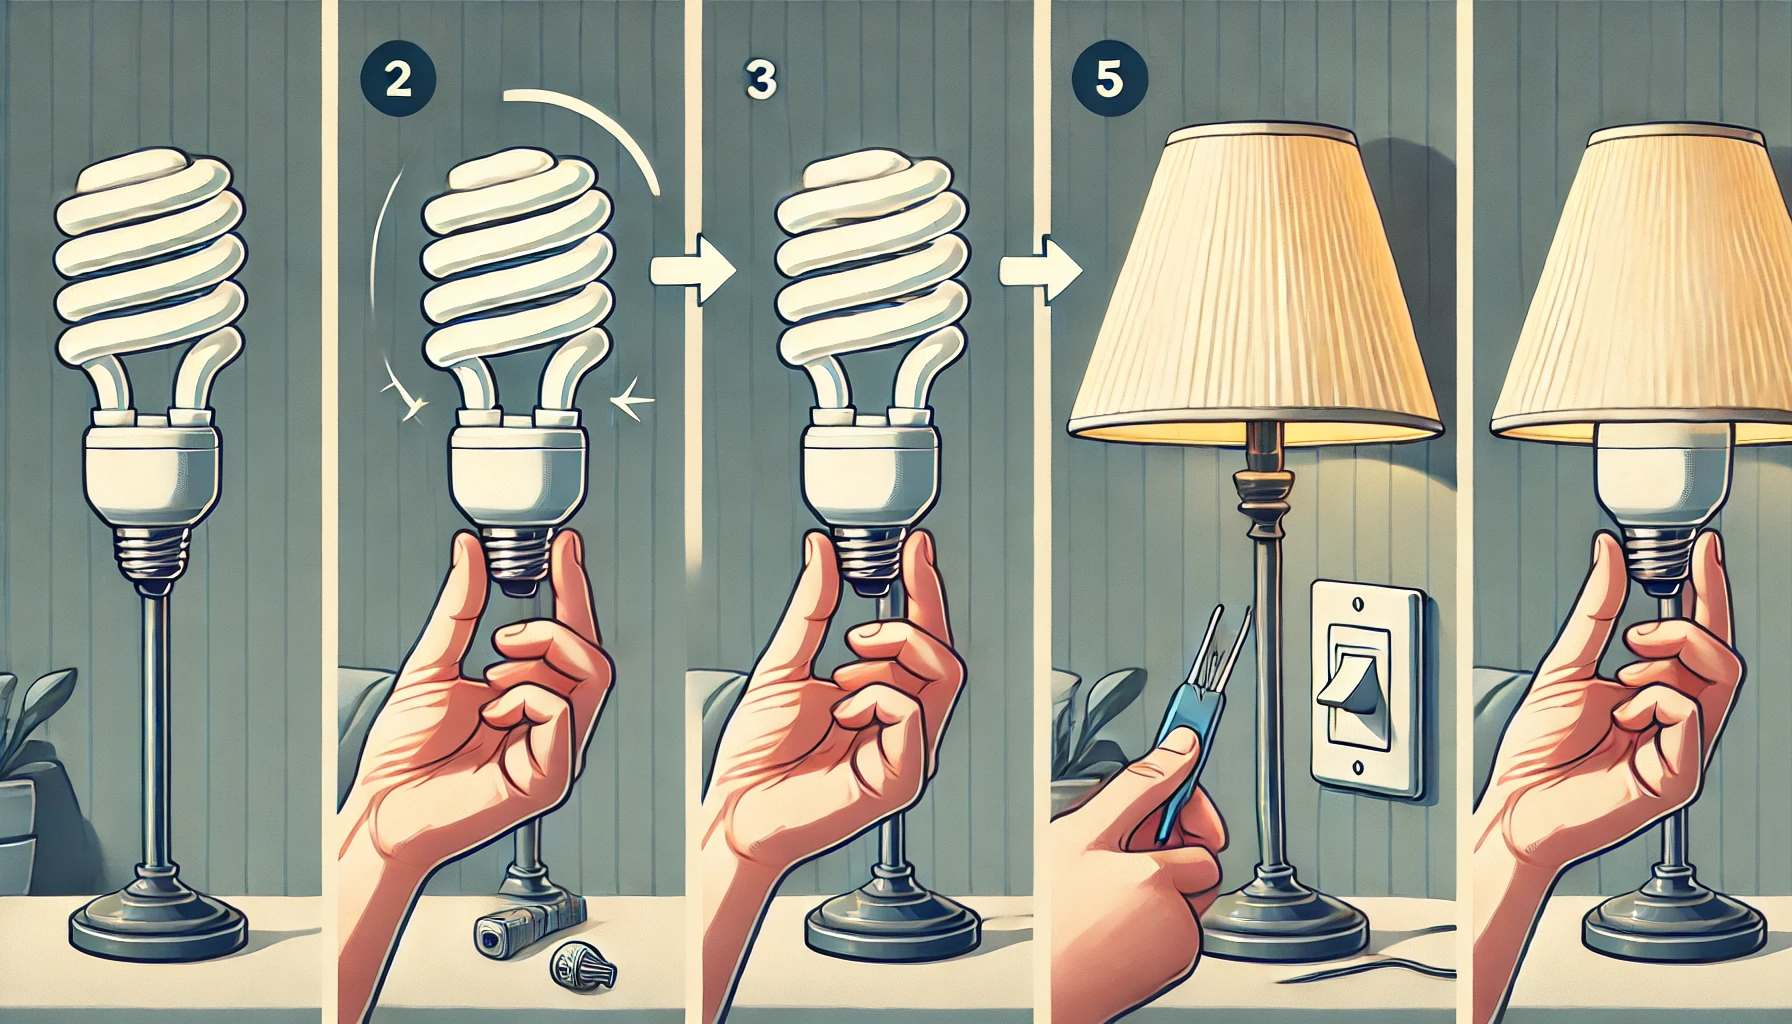
- Turn Off the Power: Safety first! Ensure the power is turned off at the light switch and, if necessary, at the circuit breaker.
- Remove the Old Bulb: Carefully unscrew the old bulb counterclockwise. If it’s a traditional incandescent bulb, it might be hot, so allow it to cool before removal.
- Clean the Fixture: Use a cloth or towel to wipe down the fixture, removing any dust or debris that could affect the bulb’s performance.
- Install the CFL: Holding the CFL bulb by the base (not the glass), screw it into the socket clockwise until it’s snug. Avoid over-tightening, as this can damage the bulb or fixture.
- Turn On the Power: Once the bulb is securely in place, turn the power back on at the switch and the circuit breaker.
Tips for Maximizing CFL Performance
- Use in Appropriate Fixtures: CFLs are designed for specific types of fixtures. Ensure your CFL is suitable for enclosed or open fixtures as required.
- Allow Warm-Up Time: CFLs may take a few minutes to reach full brightness, so be patient.
- Avoid Frequent Switching: Turning CFLs on and off frequently can shorten their lifespan. Use them in areas where lights remain on for extended periods.
- Proper Disposal: CFLs contain a small amount of mercury and should be disposed of properly. Check local recycling programs or hazardous waste facilities for disposal guidelines.
When it comes to improving energy efficiency in your home, installing Compact Fluorescent Lamps (CFLs) is a simple yet effective solution. CFLs provide long-lasting light while significantly reducing energy consumption. By following the steps outlined in this guide, you can easily replace your old incandescent bulbs with CFLs, enjoying both immediate and long-term benefits. Remember to handle CFLs with care and dispose of them properly to maintain a safe and eco-friendly environment. For more tips on energy-efficient lighting solutions and sustainable living, visit our blog regularly.
Common Questions About CFLs
1. Can CFLs be used with dimmer switches?
- Some CFLs are compatible with dimmer switches, but not all. Check the packaging to ensure the bulb is designed for dimming.
2. Are CFLs safe to use in enclosed fixtures?
- Not all CFLs are suitable for enclosed fixtures. Ensure you purchase bulbs specifically labeled for this use to prevent overheating.
3. How should I dispose of a broken CFL?
- If a CFL breaks, ventilate the area and carefully clean up the fragments using a damp cloth. Do not use a vacuum. Place the debris in a sealed plastic bag and take it to a local recycling or hazardous waste disposal center.
4. Why do CFLs take time to reach full brightness?
- CFLs use a gas discharge process that takes a few minutes to warm up and reach full illumination. This is normal and does not indicate a problem with the bulb.
Conclusion
Installing Compact Fluorescent Lamps is a straightforward process that can lead to significant energy savings and environmental benefits. By following the steps and tips provided in this guide, you can ensure a smooth installation and optimal performance of your CFLs. For additional information on energy-efficient lighting and other home improvement tips, please keep visiting our blog. Your journey to a brighter, more efficient home starts with a single bulb!
Remember, proper lighting not only enhances the ambiance of your space but also contributes to a more sustainable future. Happy lighting!