How to Install Light Emitting Diodes (LEDs) in Your Living Room
Table Of Contents
How to Install Light Emitting Diodes (LEDs) in Your Living Room for a Stunning Ambiance
Key Takeaways
- Get ready for LED setup by ensuring a suitable environment and gathering necessary tools.
- Design your room arrangement to optimize lighting placement and enhance aesthetics.
- Follow proper procedures to mount LED fixtures securely and effectively.
- Address wiring and power supply needs to ensure safe and functional installation.
- Verify your LED configuration by conducting tests to confirm proper operation.
How To Install Light Emitting Diodes (LEDs) In Your Living Room | Preparing for LED Installation
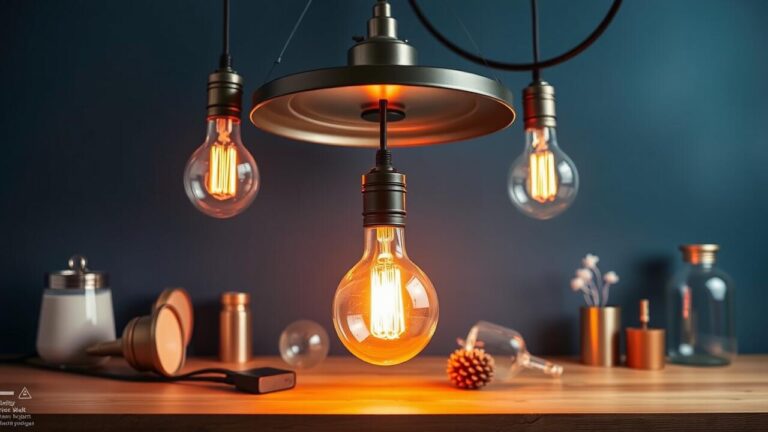
Preparing for LED installation in your living room involves careful selection and gathering of materials. Understanding how to install light-emitting diodes (LEDs) in your living room starts with choosing the right LED types that suit your decor and lighting needs. Light-emitting diodes are available in various forms, including LED lights, LED strip lights, and LED strip lighting, each offering unique benefits. Take time to explore these options to find the perfect fit for your space. Gathering necessary tools and materials is crucial to ensure a smooth installation process. A well-organized approach will set the stage for a successful setup of your new LED lighting, enhancing the ambiance of your living room.
How to Install Light Emitting Diodes (LEDs) in Your Living Room | Selecting the Right LED Types
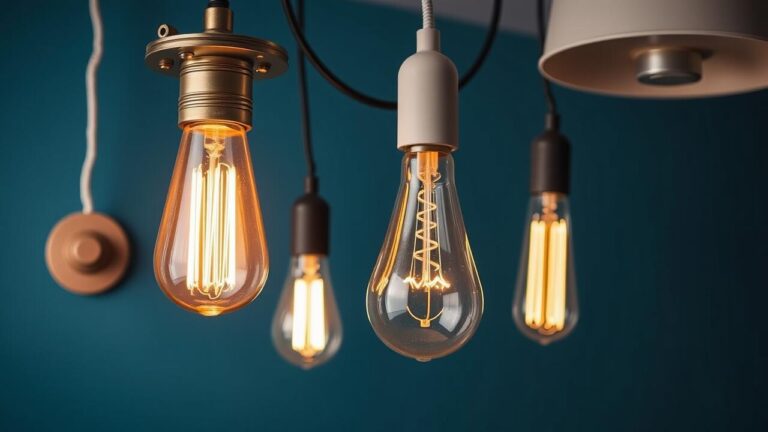
Selecting the right LED types for your living room is essential for achieving the desired lighting effects. Various LED options are available, including standard bulbs, diodes, and light fixtures specifically designed for efficient illumination. Consider the color temperature and brightness levels that suit your space. Those looking for versatile lighting solutions might also explore the integration of smart home devices, allowing for customizable settings that adapt to different moods and activities.
Understanding the differences between LED lighting and traditional incandescent bulbs can help make informed decisions. LEDs are more energy-efficient and have a longer lifespan compared to their incandescent counterparts. They also produce less heat, making them safer to use in various fixtures. Finding the best LED options will enhance the ambiance of your living room while meeting practical needs, creating a bright, inviting atmosphere perfect for relaxation or entertaining guests.
Gathering Necessary Tools and Materials
Preparing for the installation process requires a careful selection of tools and materials. To achieve the best results while learning how to install light emitting diodes (LEDs) in your living room, gather essential items such as LED bulbs, downlights, and LED strips. It’s also important to choose between different types of LEDs, like white light or RGB LED options, depending on your desired ambiance. An LED driver will be necessary to ensure that the lights function properly, so make sure to have that on hand as well.
Before embarking on your LED installation journey, ensure that you have all required tools. A screwdriver set, wire cutters, and electrical tape are crucial for effective installation. Testing equipment such as a multimeter can help with verifying connections and voltage levels. Having everything ready will streamline the process of learning how to install light emitting diodes (LEDs) in your living room, ultimately enhancing your space with vibrant, efficient lighting.
Planning Your Living Room Layout
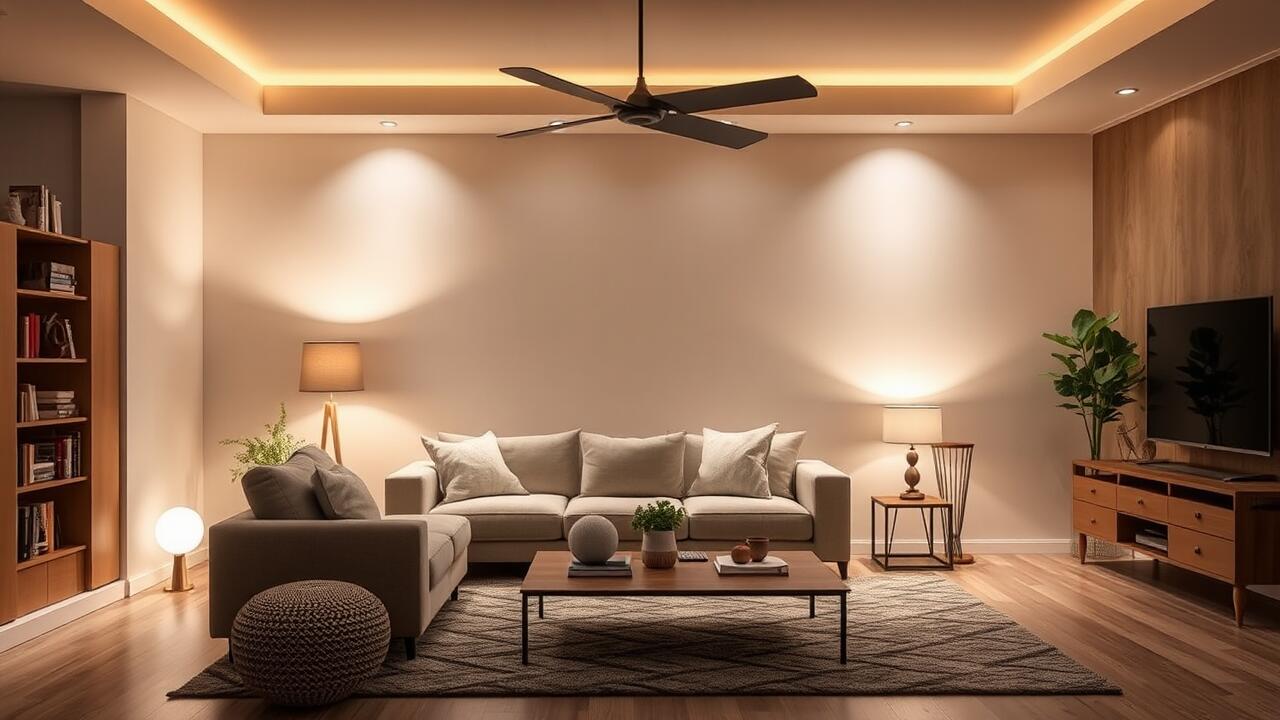
Creating an effective layout is crucial for achieving optimal illumination with your LED setup. Understanding how to install light emitting diodes (LEDs) in your living room begins with determining ideal LED locations that enhance the space. Incorporating accent lighting can dramatically change the ambiance and aesthetics, making your living room a cozy retreat. Placing backlighting behind furniture or televisions can add depth and dimension while curbing the harshness often associated with halogen bulbs. Accurate measuring ensures proper placement, avoiding potential pitfalls during the installation process. Attention to electrical wiring and connections is necessary; this not only involves connecting to the power amplifier but also ensuring safety with electricity throughout the installation.
Determining Ideal LED Locations
Identifying the right spots for your LED installations greatly influences the overall ambiance in your living room. Consider the natural sunlight entering the space and how it interacts with the brightness of the LEDs you plan to install. Review the dynamic lighting options available, as this will assist in enhancing the mood for different activities. Ensure that electrical connections can be made safely without compromising insulation. Be mindful of areas where high voltage currents may pose risks, especially near any existing electronics.
Take time to visualize how the LEDs will complement your living room’s existing décor. Highlight focal points such as artwork or architectural features by placing fixtures strategically. Mark potential installation sites while considering access to electrical currents for wiring purposes. Use electrical tape to secure wires and maintain a clean appearance. Understanding how to install light emitting diodes (LEDs) in your living room will transform your space while ensuring safe and reliable operation.
| Installation Area | LED Type | Purpose | Considerations |
|---|---|---|---|
| Above Artwork | Spotlights | Highlight focal point | Ensure no glare on the artwork |
| Ceiling | Recessed LEDs | General illumination | Check for proper insulation and wiring access |
| Under Shelves | Strip LEDs | Aesthetic enhancement | Keep wiring hidden for a sleek look |
| Entryways | Pendant LEDs | Task lighting | Ensure adequate height clearance |
Measuring for Proper Placement
Accurate measurements are crucial for a successful lighting setup. Begin by determining where the LED strip lighting or fixtures will be placed according to your overall home lighting design. Take precise measurements of walls, ceilings, and any potential obstructions. This preparation ensures that your LEDs fit seamlessly into the living room space. Always consider the wiring and power supply placements during this process, especially if you are working with low voltage options that may require specific distances between the power source and the installation point.
Once you identify the ideal locations for the lights, it’s time to mark them clearly. Use a pencil or tape to indicate where the LEDs will be installed. Pay special attention to the proximity of existing electrical outlets and the routing of wires. Ensure that the chosen spots allow for easy access to the power supply while also enhancing the room’s aesthetics. Knowing how to install light emitting diodes (LEDs) in your living room will help you create an efficient lighting setup that serves both functional and decorative purposes.
Installing LED Fixtures
Understanding how to install light emitting diodes (LEDs) in your living room requires knowledge of the various types of LED fixtures available. There are different LEDs tailored for specific purposes, such as LED strip installation for under-cabinet lighting or ceiling-mounted fixtures for ambient light. Each option presents unique benefits in energy efficiency and design flexibility. Proper wiring of LEDs is crucial to ensure that they operate safely within their voltage specifications. This segment will guide you through the installation process, allowing you to incorporate innovative LED technology into your living space effectively, thus enhancing your overall lighting solutions.
Ceiling Mounted LED Installation
Ceiling-mounted LEDs can dramatically enhance your living room by providing effective lighting effects. To begin, consider the light fixture design that best complements your space. Whether you opt for a white diode setup or a colorful LED strip installation, these lighting solutions will create a vibrant atmosphere. For larger areas, using many LEDs in various configurations can create a dynamic feel. Understanding how to install light emitting diodes (LEDs) in your living room is essential for achieving optimal results.
Proper installation requires careful attention to wire LEDs and how they connect to your power source. Ensure that you have a reliable LED strip setup and follow the manufacturer’s guidelines for mounting. For a seamless look, incorporate cabinet lighting that harmonizes with the ceiling fixtures. By strategically placing your LEDs, you can transform the ambiance of the room while maximizing functionality. Keep in mind, this process not only improves aesthetics but also energy efficiency.
Wall Sconce LED Installation
Selecting the right wall sconces can enhance your living room’s ambiance. Opt for Philips LED lights that provide a uniform light source. These lights offer various options for lighting intensity, making them suitable for both task lighting and creating a cozy atmosphere. With the ability to dim lights or choose colorful lighting, you can achieve personalized lighting designs that match your style. Understanding how to install light emitting diodes (LEDs) in your living room opens up a range of possibilities for aesthetic improvements.
Installation involves careful alignment and secure mounting of the fixtures. Begin by determining the appropriate height for your sconces to optimize light distribution. Once positioned, connect the LED fixtures to your existing wiring while ensuring that all connections are secure. This setup provides not only functional task lighting but also stylish fixtures that complement your decor. Mastering how to install light emitting diodes (LEDs) in your living room can transform your space into a well-lit haven.
UnderCabinet LED Installation
Installing LED strip lights under cabinets can enhance the ambiance of your living room. These lights provide mood lighting that helps to eliminate any uneven lighting in the space. Choose the right type of strip lights, such as module lights designed for under-cabinet use, to ensure you achieve a uniform lighting effect. Understanding how to install light emitting diodes (LEDs) in your living room will help you maximize the aesthetic appeal and functionality of your area.
Proper placement of the strip lights is crucial for optimal illumination. Measure the cabinet area accurately to find where the strip lights fit without obstructing any functional elements. Clean the surface thoroughly before adhering the strip lights to ensure a secure bond. This attention to detail will prevent issues later on and allow you to enjoy a beautifully illuminated living area that caters to both style and comfort.
Wiring and Electrical Considerations
Understanding electrical considerations is crucial for a successful installation of light-emitting diodes (LEDs) in your living room. Selecting the appropriate electrical units ensures that the power requirements of light bars and smart Philips strips are met, preventing any overloads. Properly assessing the installation area allows for tailored illumination solutions, creating a well-lit space that maintains uniform light levels. Consulting with a reputable light supplier can provide insights into suitable options for your specific setup. Taking these precautions prepares you for the installation process and sets the foundation for a successful project on how to install light emitting diodes (LEDs) in your living room.
Safety Precautions Before Installation
A safer installation begins with turning off all power sources before starting any work. This simple yet vital step ensures that you won’t accidentally electrocute yourself while handling wiring. Understanding how to install Light Emitting Diodes (LEDs) in your living room means embracing safety first. Verify that the power source delivers electricity consistently to avoid flickering lights, which can detract from the superior brightness and vibrant illumination you desire.
Using high-quality tools and materials can significantly enhance the safety of your setup. Always double-check connections and use appropriate voltage ratings for your chosen LED fixtures. Familiarizing yourself with your room’s electrical layout will help identify which power sources will be used for the installation. A successful installation involves not only the right LED types and placements but also adhering to these safety measures to prevent any mishaps as you create your LED land.
- Always wear protective gear, such as gloves and safety goggles, during installation.
- Ensure the work area is dry and free of any moisture to prevent electrical hazards.
- Keep a first aid kit nearby in case of any minor accidents.
- Use a voltage tester to confirm that all power sources are off before beginning work.
- Follow the manufacturer’s instructions for installation and safety guidelines.
- Do not overload circuits; check wattage ratings to prevent overheating.
- Consider consulting a licensed electrician if you feel unsure about any step in the process.
Understanding the Wiring Process
Preparing the wiring for installing light emitting diodes (LEDs) in your living room is crucial for achieving optimal illumination. Begin by assessing whether your existing devices are compatible with a low-voltage power source or if additional power sources are necessary. Different brightness levels can be reached by selecting the right configuration. It’s vital to use quality wire insulation to prevent any electrical hazards. Ensure your power wires are long enough to reach the desired LED locations without causing tension or damage to the connections.
During the wiring process, it is essential to have the right tools on hand. Electrical pliers will assist in cutting and stripping the wires accurately, ensuring a secure connection to your light strings. As you run the wires, pay attention to the brightness setting of your LEDs. Properly organized wiring not only enhances safety but also helps maintain a clean aesthetic in your living room. Understanding the wiring process will ensure that your installation is both functional and visually appealing.
Testing Your LED Setup
After completing the full installation of your lights, it’s essential to test your setup thoroughly. Begin by checking all connections to ensure everything is wired correctly, as any mistake can affect performance. It’s advisable to test the brightness settings to see if they meet your expectations for illuminating spaces; this might involve adjusting your smart wall plug or amplifier to achieve the desired levels. Make sure that all LEDs operate from a single power source for consistency. Permanent installations should be double-checked for functionality and efficiency. Understanding how to install light emitting diodes (LEDs) in your living room will only be beneficial if they perform as intended, so take the time to troubleshoot any issues before finalizing your lighting arrangement.
Checking Connections and Power Supply
Ensuring that your LED fixtures are properly connected is crucial for successful installations. Begin by checking all sources of power to confirm they are functioning correctly. Each LED should be connected to the intended power supply, which includes verifying that the positive electrode is connected to the corresponding positive terminal and the negative electrode to the negative terminal. This meticulous attention to detail will help avoid potential issues when you finally power up your new lights.
After confirming all connections, it’s time to test the installations. Switch on the power supply to see if the LEDs light up as expected. For large installations, it’s wise to check each section individually to pinpoint any problems quickly. If some LEDs fail to illuminate, revert to the connections to ensure everything is correctly attached and there are no loose wires. This process is essential to ensure a seamless lighting experience in your home when learning how to install light emitting diodes (LEDs) in your living room.
- Verify the power supply voltage matches the requirements of your LED fixtures.
- Check that all wiring is secure and free from damage.
- Use a multimeter to test electrical connections for continuity.
- Ensure that the LED fixtures are compatible with the type of power supply being used.
- Look for any signs of overheating or discoloration around connections.
- Document any issues or repairs needed for future reference.
- Consult the manufacturer’s guidelines for specific installation advice and troubleshooting tips.
Conclusion
Successfully transforming your living room with LED fixtures enhances both aesthetics and functionality. Understanding how to install light emitting diodes (LEDs) in your living room involves careful planning, selection of the appropriate types, and ensuring proper installation techniques. By following the steps outlined in this guide, you can effectively position your LEDs to create a cozy and inviting atmosphere. Whether you are mounting fixtures on the ceiling or installing under-cabinet lights, knowing how to install light emitting diodes (LEDs) in your living room will significantly improve your space’s lighting quality.
FAQS
How can I make LEDs brighter for my living room installation, especially if I want to use an LED flashlight feature or integrate them with Apple Home devices?
To make LEDs brighter in your living room installation, consider using LED flashlight features, adjusting the LEDs voltage, and configuring the brighter settings. When wiring LEDs, ensure you use appropriate connectors to create efficient LED connects, allowing for better integration with smart systems like Apple Home.
How can I integrate LEDs with Apple Home for controlling lighting in my living room, and what are the advantages of using this system?
Integrating LEDs with Apple Home allows for seamless control of your living room lighting from your Apple devices. This system offers convenience, automation, and compatibility with various smart home features, making it easier to manage your lighting setup.
What are the benefits of using Apple Home to control my LED lighting in the living room?
Using Apple Home for your LED lighting system in the living room allows for seamless integration and control of your lights through the Home app or Siri. This setup not only provides convenience but also allows for enhanced energy efficiency and automation. With Apple Home, you can create scenes and schedules for your LEDs, making your living room more functional and responsive to your needs. If you’re looking for a user-friendly way to manage your lighting, Apple Home is a great option to consider, and it works well with LEDs anyways.
Can I use my LED lights with Apple Home, and what should I know about the integration process?
Yes, you can use your LED lights with Apple Home. When integrating your LEDs with Apple Home, consider checking compatibility to ensure they work smoothly together. Setting it up can enhance your control over the lighting in your living room, providing convenience and automation options, as Apple Home allows you to manage your lights easily from your devices. If you’re thinking about how Apple Home can play a role in adding convenience to your setup, then integrating it with your LED lights will definitely improve your experience.
How can I ensure that my LED setup will work well with Apple Home, and what are some essential tips I should consider anyways?
To ensure that your LED setup works seamlessly with Apple Home anyways, it’s vital to check compatibility with HomeKit-enabled devices. Choose smart LED bulbs or strips that specifically state compatibility with Apple Home. Additionally, setting up your home Wi-Fi network correctly can aid in smooth integration. Keep your Apple device updated and familiarize yourself with the Home app for better control over your LED lighting, allowing for easy adjustments and automation.