Electrify Your Space: A Safe Guide to DIY Electric Light Fitting Installations
The allure of DIY projects lies in the personal satisfaction and creativity they offer, not to mention the potential cost savings. When it comes to lighting, updating or installing new electric light fittings can dramatically transform the ambiance of your home. However, working with electricity requires caution, knowledge, and preparation to ensure safety and success. This comprehensive guide will walk you through the process of installing electric light fittings safely, making your DIY lighting project a glowing success.
Understanding the Basics
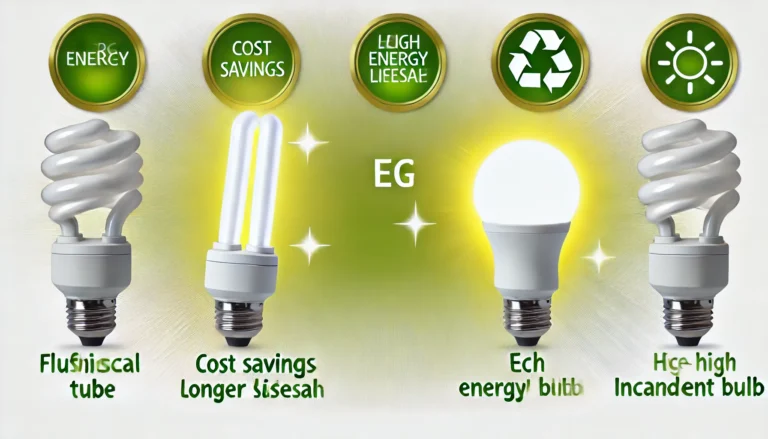
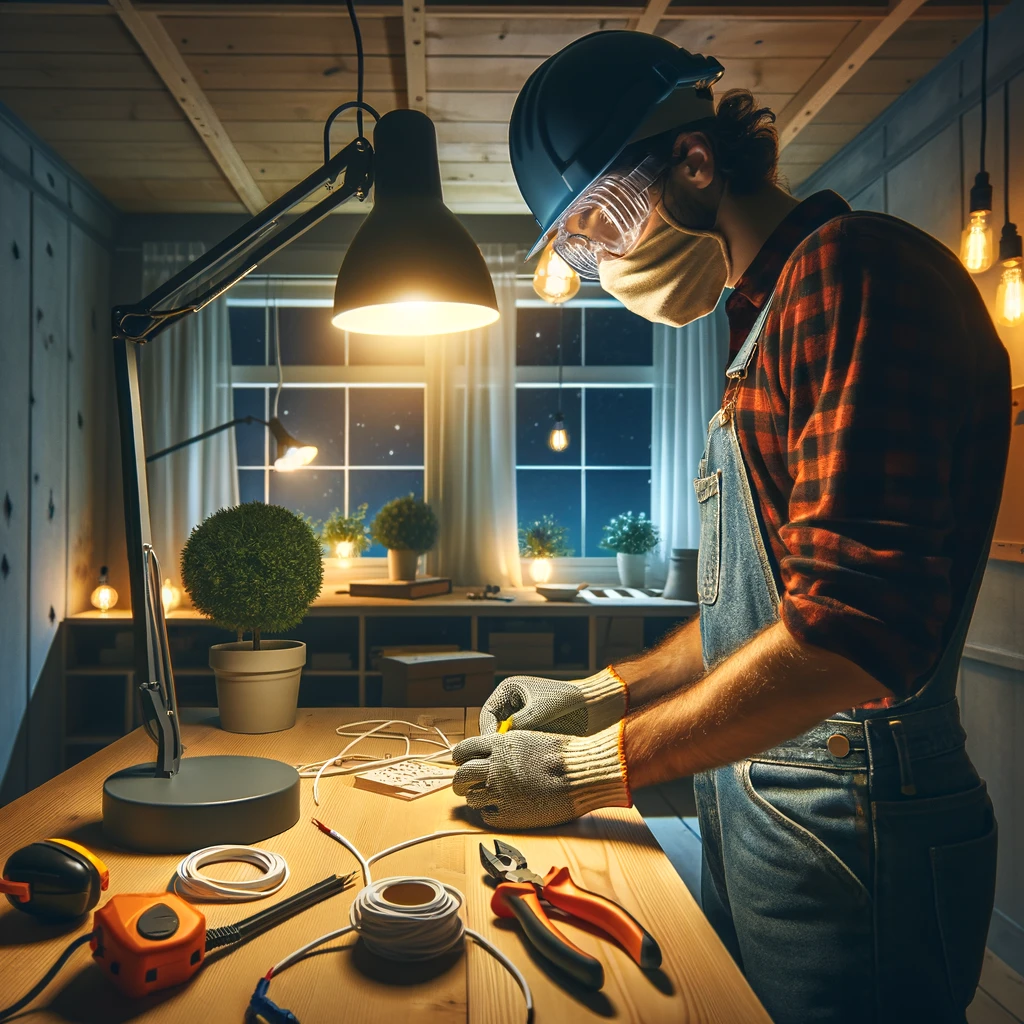
Before you embark on your DIY lighting project, it’s crucial to understand the basics of electrical work and familiarize yourself with the tools and materials you’ll need. This includes screwdrivers, wire strippers, a voltage tester, and, of course, the light fitting and compatible light bulbs. Safety should be your top priority, so make sure you have insulated gloves and protective eyewear.
Safety First: Preparing for Installation
Safety cannot be overstated when working with electricity. Always start by turning off the power at the circuit breaker to the area where you’ll be working. Use a voltage tester to confirm that the power is indeed off before proceeding. This simple step can prevent electric shock and ensure a safe working environment.
Step-by-Step Installation Guide
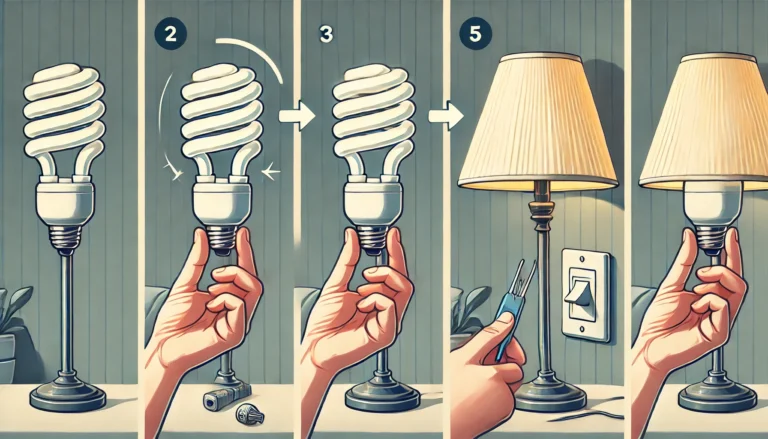
- Remove Existing Fittings: Carefully remove any existing light fittings, paying attention to how they were connected. It’s helpful to take notes or pictures to refer back to during the installation of your new fitting.
- Understand Wiring: Familiarize yourself with the wiring in your ceiling or wall. Typically, you’ll find a live (often red or brown), neutral (often black or blue), and earth wire (green and yellow). The colors can vary, so always check what standard is used in your area.
- Mounting the Fixture: Secure the mounting bracket that comes with your light fitting to the ceiling or wall. Ensure it’s firmly attached to support the weight of the new fitting.
- Connecting the Wires: Connect the wires from your light fitting to the corresponding wires in the ceiling or wall. Usually, this involves connecting live to live, neutral to neutral, and earth to earth. Use wire connectors or terminal blocks to ensure secure connections.
- Attaching the Fitting: Once the wires are connected, carefully position the light fitting onto the mounting bracket. Make sure all connections are tucked away neatly and that the fitting is secure.
- Testing: Before restoring power, double-check all connections and ensure the light fitting is securely installed. Turn the power back on at the circuit breaker and test your new light fitting.
Tips for a Successful Installation
- Read the Manufacturer’s Instructions: Always refer to the installation guide provided with your light fitting for specific instructions and recommendations.
- Choose the Right Fitting for Your Space: Consider the size, style, and lighting needs of the room when selecting a light fitting.
- Seek Professional Help if Unsure: If at any point you’re unsure about the installation process, it’s safer to consult with or hire a professional electrician.
Conclusion
Installing electric light fittings as a DIY project can be rewarding and enhance the look and feel of your home. By following these safety guidelines and installation steps, you can ensure a successful and safe update to your home’s lighting. Remember, when in doubt, always err on the side of caution and consult a professional.